I learned the hard way that planting into hard ground almost always leads to weak roots and disappointing harvests.
After improving several compacted garden beds, I discovered that How to prepare compacted soil for planting is less about digging deeper and more about restoring healthy soil structure.
Once I stopped treating the surface alone and focused on rebuilding the soil beneath, my vegetables and flowers established much faster.
Why Compacted Soil Causes Plant Problems
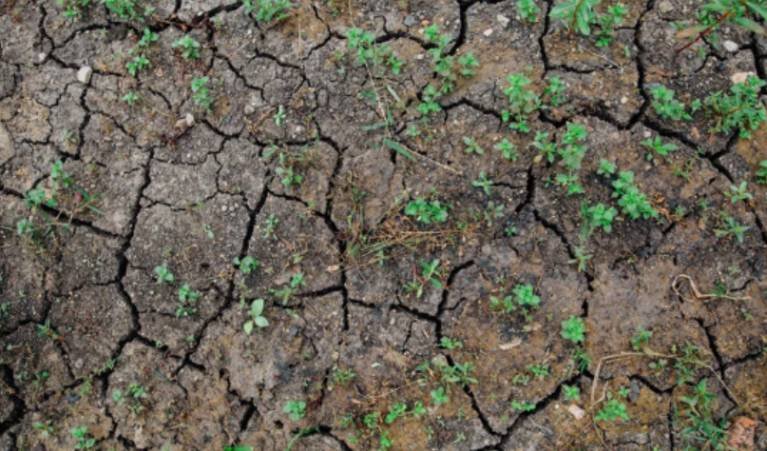
Healthy soil contains thousands of tiny air pockets that allow roots, water, and beneficial microbes to thrive. Compacted soil squeezes those spaces shut. Instead of spreading naturally, roots circle near the surface and struggle to absorb nutrients.
Poor drainage often follows. Heavy rain sits on the surface, while dry periods leave the ground almost impossible to wet.
Learning how to fix poor drainage in a garden bed can help gardeners address standing water, improve soil aeration, and create better conditions for deeper root growth before planting.
According to USDA Natural Resources Conservation Service, healthy soil structure directly affects water movement, oxygen availability, and root development.
Signs Your Soil Is Compacted
Several warning signs usually appear before plants begin failing:
- Water puddles after rain.
- Garden tools struggle to penetrate the soil.
- Roots grow sideways instead of downward.
- Grass or vegetables remain stunted.
- Soil dries into hard crusts after watering.
If you notice multiple symptoms, improving soil structure should come before planting.
Test Your Soil Before You Start
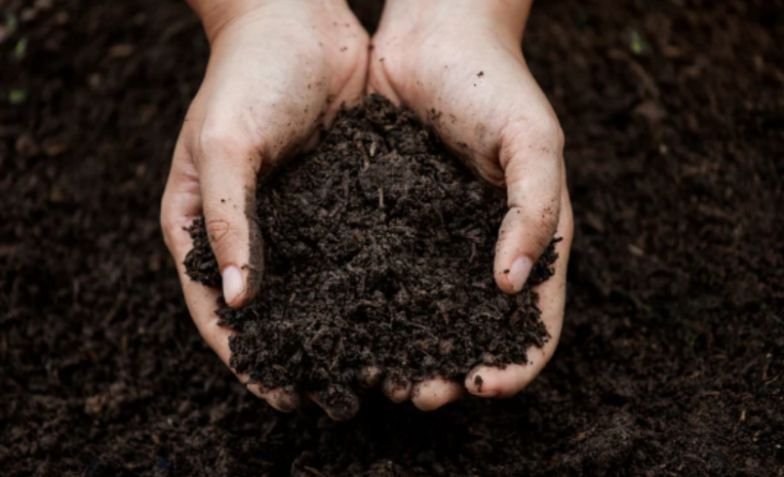
Digging at the wrong time can actually make compaction worse.
The Simple Crumb Test
I always squeeze a handful of soil before grabbing my garden fork. If it forms a sticky ball that refuses to crumble, it is too wet. If it falls apart like dust, it is too dry.
The ideal soil holds together briefly before breaking apart with gentle pressure. This simple test prevents unnecessary damage to soil structure.
Identify Your Soil Type
Different soils benefit from different amendments.
Clay soils improve with chunky compost or pine bark soil conditioner because they create larger air spaces.
Loamy soils usually need standard compost to replace lost organic matter.
Sandy soils benefit from finished compost, which increases moisture retention while feeding beneficial microorganisms.
Step-by-Step: How To Prepare Compacted Soil For Planting
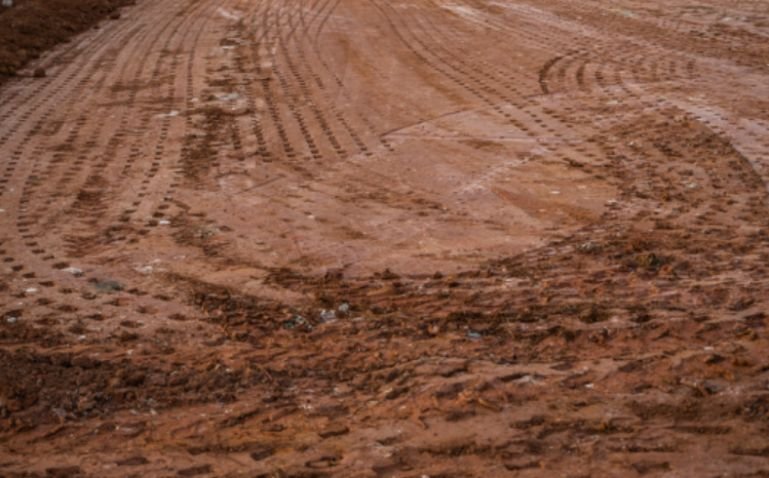
Clear the Planting Area
Remove weeds completely, including their roots. Pull away rocks, old mulch, and plant debris that could interfere with loosening the soil.
A clean workspace allows amendments to mix evenly into the existing ground.
Loosen the Soil Properly
Instead of aggressively tilling, I insert a sturdy garden fork about 6 to 12 inches into the soil. I gently rock it backward without turning over the entire soil profile.
This fractures the compacted layer while preserving earthworms and naturally formed soil aggregates.
Research from several university extension programs shows that excessive tilling often destroys soil structure and leads to faster recompaction.
Add Organic Matter the Right Way
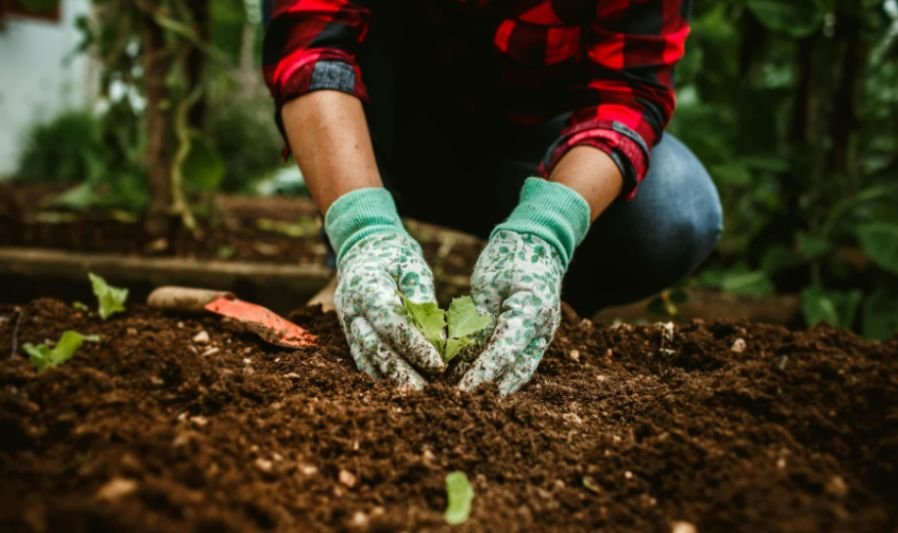
Spread two to three inches of organic matter across the loosened area.
Compost improves fertility while increasing microbial activity. Pine bark soil conditioner works especially well in dense clay because larger particles help maintain long-term pore spaces.
Organic matter gradually transforms hard soil into a softer growing environment.
Mix Without Creating Layers
One mistake I made years ago was spreading topsoil over hard ground without blending it.
The result looked beautiful until water pooled between the two layers.
Now I thoroughly mix compost into the loosened native soil at approximately a 50:50 ratio. This creates consistent drainage and encourages roots to grow deeper instead of stopping at an artificial barrier.
If you’re also building raised beds, understanding How deep should soil be in a raised garden bed helps create the ideal rooting environment from the beginning.
Water Before Planting
After mixing everything together, I water the bed deeply.
Moisture settles the soil naturally while activating beneficial bacteria and fungi that begin breaking down organic material.
Allow the bed to rest overnight before planting if possible.
Finish with Mulch
Once plants are in place, cover the surface with about two inches of mulch.
Shredded leaves, straw, or wood chips help regulate soil temperature, reduce evaporation, and prevent the surface from hardening after rain.
Mulch also protects the improvements you just made beneath the surface.
Common Mistakes That Make Compaction Worse
Many gardeners accidentally recreate compaction within weeks.
Walking directly across planting beds compresses the soil again. I always use stepping stones or designated pathways to spread weight.
Overusing rototillers also causes problems. While freshly tilled soil appears loose, repeated mechanical tilling destroys natural aggregates and often creates an even harder layer below the tilling depth.
Adding fine sand to heavy clay is another mistake. Fine sand combines with clay particles and forms a dense mixture similar to brick.
My Tested Soil Recovery Timeline
One practice that consistently improved my results was allowing the soil a short recovery period.
After incorporating compost and watering thoroughly, I wait about 24 to 48 hours before planting seedlings. During this time, moisture redistributes evenly, soil microbes become active, and the surface settles naturally.
Although this brief pause seems minor, I consistently notice faster root establishment compared with planting immediately after digging.
Keep Soil Loose for Years
Long-term success depends more on prevention than repeated repair.
Add fresh compost each season instead of relying on chemical fertilizers alone.
Leave roots in place after harvest whenever practical because decaying roots naturally create channels for water and air.
Avoid working soil during extremely wet conditions, since heavy pressure permanently collapses soil pores.
Finally, maintain mulch year-round. Healthy soil stays covered in nature, and garden beds benefit from the same protection.
Frequently Asked Questions
1. How to prepare compacted soil for planting vegetables?
Loosen the soil 6 to 12 inches deep, mix compost into the native soil, water thoroughly, and mulch after planting.
2. Can I plant immediately after loosening compacted soil?
Waiting about one day allows moisture to settle evenly and improves early root establishment.
3. Is compost better than topsoil for compacted ground?
Yes. Compost improves soil structure and microbial activity, while topsoil alone may create drainage problems if layered.
4. Can earthworms naturally reduce soil compaction?
Yes. Healthy worm populations gradually improve aeration and create natural channels that help roots grow deeper.
From Hard Ground to Happy Roots
Every successful garden starts below the surface. Once I stopped fighting compacted soil and started rebuilding it, healthier plants became much easier to grow. Small improvements, such as using compost correctly, avoiding unnecessary tilling, and protecting the soil with mulch, produced lasting results season after season. Treat your soil as a living ecosystem, and it will reward you with stronger roots, healthier plants, and a far more productive garden.